

The first time your teenager sits behind the wheel, you may feel a mix of excitement and worry. You want them to experience the freedom that comes with driving, but you also know that becoming an independent driver can take more planning when they use adaptive equipment. In Michigan, that journey may involve learning new skills, finding the right vehicle modifications, and building confidence one step at a time.
You don’t have to rush the process. The goal isn’t simply to move your teen from the passenger seat into the driver’s seat. It’s to help them develop the skills, judgment, and independence they need to feel comfortable on Michigan roads. With the right support and a gradual approach, driving can become a realistic part of your teen’s growing independence.
Step 1: Schedule a Certified Driver Rehabilitation Evaluation
Start with a professional assessment
Before your teenager begins driving independently, you’ll want to understand what they can safely manage behind the wheel and where they may need support. A driver rehabilitation evaluation gives you that starting point.
A Certified Driver Rehabilitation Specialist (CDRS), often working with an occupational therapist or within a rehabilitation setting, assesses skills that affect driving. Depending on your teen’s needs, this can include vision, physical strength and range of motion, coordination, reaction time, attention, and cognitive processing. The goal isn’t to judge whether your teenager is “good” or “bad” at driving. It’s to understand their abilities and identify what can help them drive safely.
Expect clinical and behind-the-wheel testing
The evaluation typically includes both a clinical assessment and an in-vehicle assessment. During the clinical portion, the specialist may evaluate strength, flexibility, coordination, vision, and cognitive skills that are important for driving.
The behind-the-wheel portion lets the specialist see how your teen applies those skills in an actual driving environment. They may observe steering, braking, acceleration, visual scanning, reactions to traffic, and the use of adaptive controls.
This can give you information that simply watching your teen practice in a parking lot may not reveal.
Let the evaluation guide equipment choices
If your teenager needs adaptive equipment, the evaluation can help determine what modifications fit their specific abilities. Depending on their needs, this could include hand controls, a left-foot accelerator, steering aids, or modified pedals.
Avoid choosing equipment simply because it worked for another driver. Your teen’s physical abilities, driving style, and vehicle are unique. A CDRS can recommend appropriate equipment and training based on those individual needs. Depending on the equipment and installer, clinical documentation or a formal prescription may also be required.
Starting with this individualized assessment gives you a clearer path forward. Instead of asking your teen to adapt to equipment, you can work toward finding equipment and training that are designed around your teen.
Step 2: Understand the Adaptive Equipment Options
Once you know what your teenager can comfortably and safely do behind the wheel, the next step is understanding which adaptive equipment may help. No single setup works for every driver. The right equipment depends on your teen’s strength, mobility, coordination, and how they naturally control the vehicle.
Push-Pull and Mechanical Hand Controls
If your teenager has limited use of their legs, hand controls can allow them to operate the accelerator and brake with their hands instead of their feet. Mechanical systems connect to the vehicle’s existing pedals and transfer pedal operation to hand-operated controls.
With a push-pull system, for example, your teen can use a hand lever to control acceleration and braking. The exact movement and configuration can vary by system and driver needs.
Learning these controls takes practice. Your teen will need time to develop smooth, consistent movements while also steering, watching traffic, and making decisions. That’s why professional instruction with the equipment is an important part of the transition.
Left-Foot Accelerators
If your teenager has difficulty using their right leg but has adequate strength and control in their left leg, a left-foot accelerator may be an option. It provides an accelerator pedal on the left side of the driver’s footwell, allowing your teen to accelerate with their left foot.
A pedal guard may also help prevent accidental activation of the original accelerator pedal on the right. Choose and install the setup based on your teen’s abilities and vehicle.
Your teen will still need to learn how to use the left-side accelerator smoothly and consistently, particularly when switching between vehicles.
Spinner Knobs and Steering Accessories
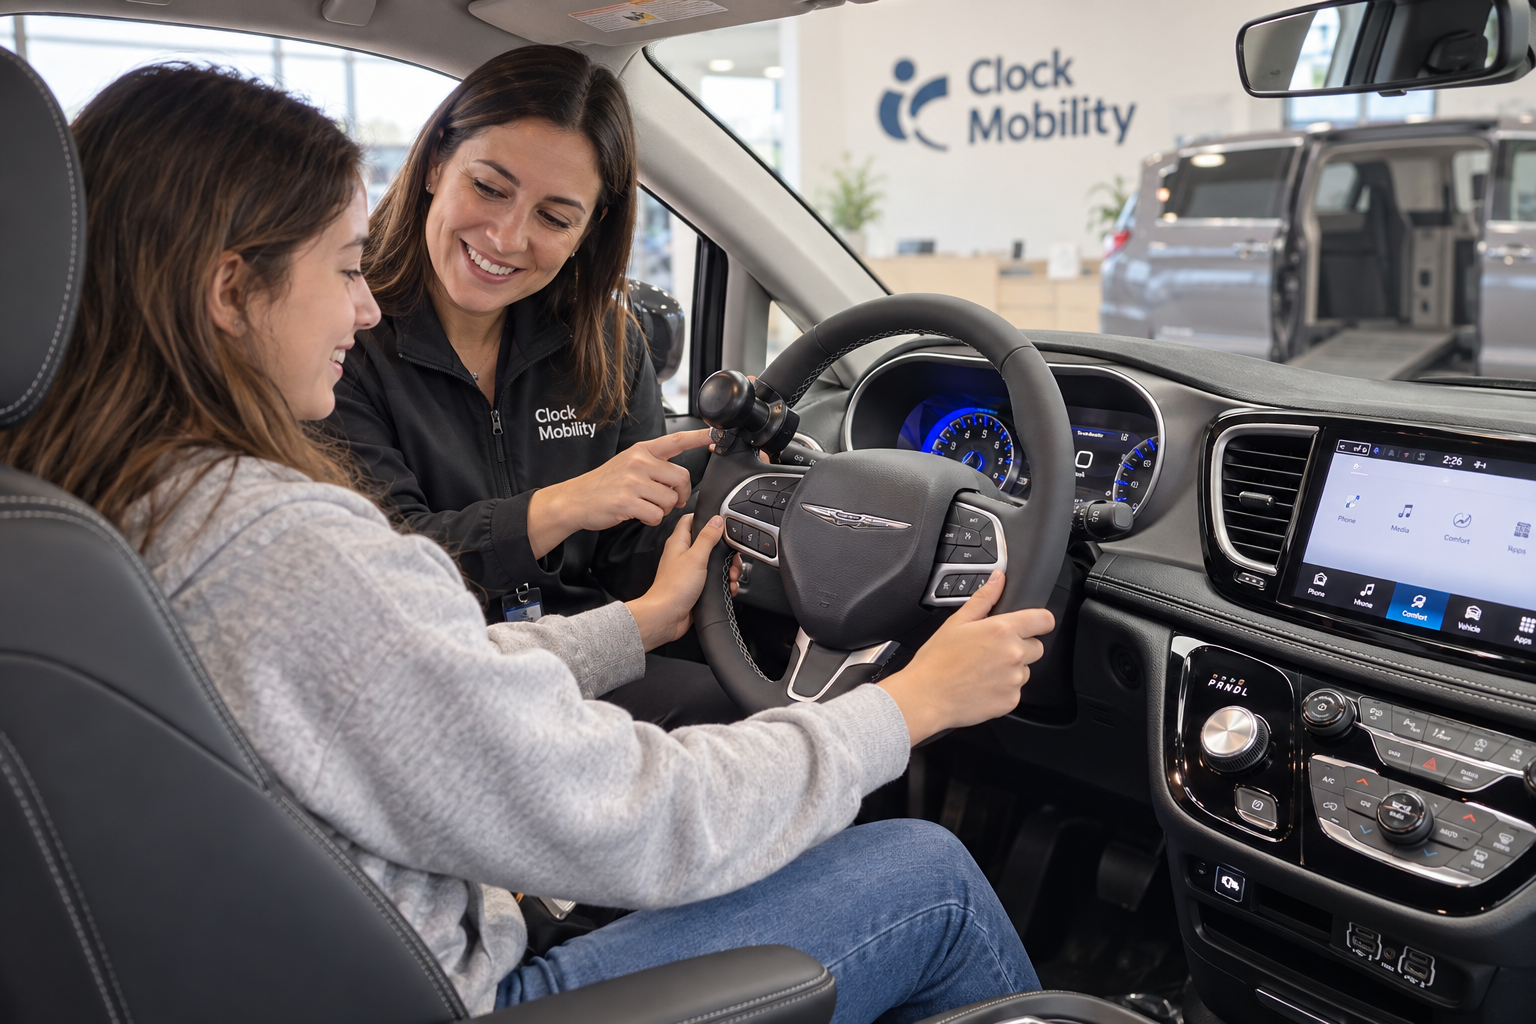
Steering accessories can make one-handed steering easier when your teen needs their other hand available for adaptive controls. Spinner knobs, tri-pin steering devices, and palm lifts are examples of options that can provide additional grip or leverage.
A spinner knob can help your teen turn the steering wheel using one hand, while a tri-pin or palm-lift design may offer more support for a driver with limited hand strength or grip.
Paired with hand controls, these accessories can help your teen manage steering and vehicle controls more effectively. A CDRS can help determine which configuration matches your teenager’s abilities and teach them how to use the system safely.
Like What you're reading? Subscribe to our Newsletter and get new updates directly to your inbox
Step 3: Navigating Michigan Licensing Requirements
Getting your teenager ready to drive involves more than learning how to operate adaptive equipment. You’ll also need to work through Michigan’s licensing requirements, which can feel like a lot to keep track of at first. Taking it one step at a time can make the process much less overwhelming.
Work with the Secretary of State
If your teenager has a medical condition or disability that requires a driver assessment or special accommodation, the Michigan Department of State may require additional documentation or evaluation. The exact paperwork depends on your teen’s circumstances, so follow the instructions from the Secretary of State and the professionals involved in the assessment.
If your teen is under 18, they will also follow Michigan’s Graduated Driver Licensing (GDL) system. This includes completing Segment 1 and Segment 2 of driver education and meeting the supervised-driving requirements.
Build adaptive practice into driver education
Michigan’s GDL program gives your teen opportunities to build experience gradually. Segment 1 includes classroom instruction and behind-the-wheel training. After obtaining a Level 1 License, your teen must complete supervised driving before moving on to the next stages.
For a teen who uses adaptive controls, that practice should match the equipment they have been assessed and trained to use. You can work with the driver education provider and your teen’s rehabilitation professionals to determine how to incorporate the adaptive vehicle and controls into training.
Your teen must log at least 50 hours of supervised driving, including 10 hours at night, before taking the driving skills test. Segment 2 requires at least 30 of those supervised hours, including two nighttime hours.
Understand license restrictions
Depending on your teenager’s circumstances, Michigan may restrict how they drive. These restrictions can relate to specific equipment or other conditions of licensure. Make sure you understand exactly what appears on your teen’s license and what they must use while driving. That way, you can help your teenager practice not just for the test, but for the responsibilities they will carry as an independent driver.
Step 4: Professional Equipment Installation & Training
Choosing the right adaptive equipment is only the beginning. Once you know what equipment your teenager needs, make sure it is installed correctly and adjusted to fit them. Even the right equipment can be uncomfortable or difficult to use if it isn’t positioned properly.
Have the equipment professionally fitted
A certified mobility dealer can install the prescribed equipment and adjust it around your teen’s reach, strength, seating position, and driving needs. This may mean changing the height, angle, or position of hand controls, steering devices, or other adaptations.
The goal is not simply to make the equipment function. Your teenager should be able to operate the controls comfortably without unnecessary strain while keeping their attention on the road. Professional installation also helps ensure the equipment is properly integrated with the vehicle.
Complete a final vehicle check
Once the modifications are installed, your teen should practice in the actual vehicle they will drive at home. A CDRS can conduct a final checkout to make sure the equipment works properly and that your teenager can use it safely.
This can be reassuring for you, too. A family vehicle may feel different from the training vehicle your teen used during their evaluation. Seating position, visibility, steering response, and control placement can all affect how comfortable they feel.
Give your teenager time to become familiar with the setup rather than expecting everything to feel natural immediately.
Keep the equipment maintained
Adaptive equipment becomes part of your teen’s driving system, so it needs regular attention. Mechanical components, linkages, and electronic controls can wear over time. Follow the manufacturer’s maintenance recommendations and have a qualified professional inspect the equipment at the recommended intervals.
If your teenager notices unusual resistance, looseness, noise, or a change in how a control responds, have it checked rather than asking them to work around it.
With proper installation, training, and maintenance, you can give your teenager a setup that supports their independence while keeping safety at the center of the journey.
Building Lifetime Driving Confidence with Clock Mobility
Helping your teenager become an independent driver is about much more than getting a license. You’re giving them another way to experience freedom, responsibility, and everyday independence. It’s completely natural to have questions along the way, especially when adaptive equipment is part of the journey.
You don’t have to figure everything out on your own. At Clock Mobility, we can help you navigate the process, from connecting with local Michigan mobility specialists and finding CDRS resources to understanding equipment options and planning a vehicle fitting that works for your teen.
When you’re ready to take the next step, reach out to Clock Mobility. With the right guidance, you can help your teenager move from riding along to confidently taking the wheel.
OTHER ARTICLES YOU MIGHT BE INTERESTED IN